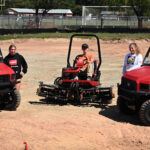
Aeration is key for healthy turf. It loosens compacted soil, breaks up and/or removes organic matter, and improves water and nutrient infiltration. It also increases oxygen supply to the roots, releases carbon dioxide and encourages new, deeper root growth.
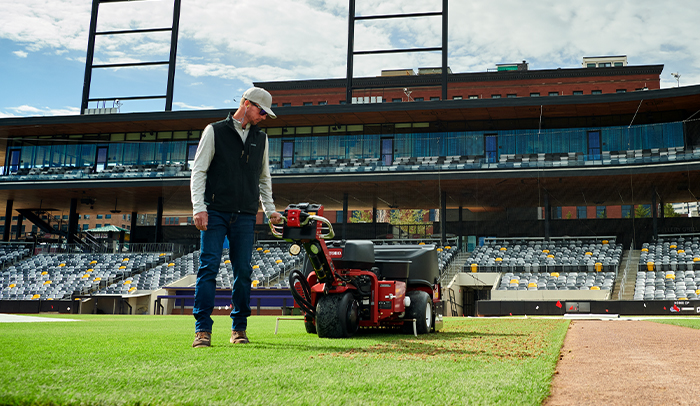
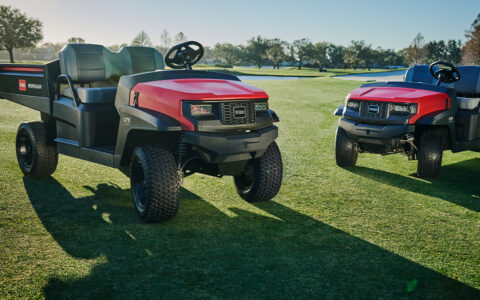
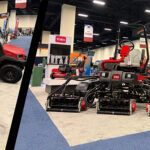
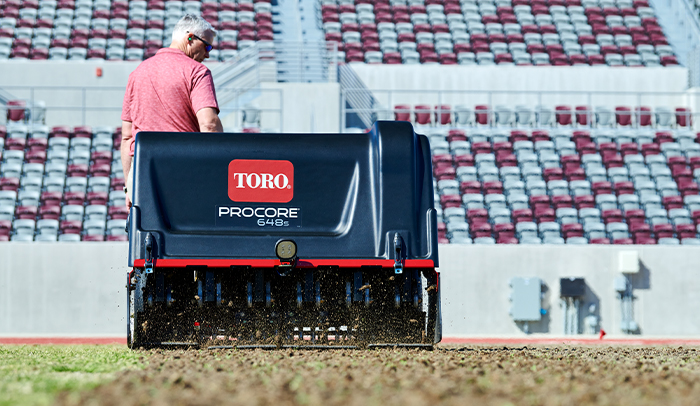
The Toro® ProCore® 648s and 648 make it easy to maximize your aeration efficiency with smart technology for consistent, high-quality results. Here are some tips to keep your ProCore aerators performing their best.
Recommended Maintenance
It is important to perform all maintenance tasks at the manufacturer’s recommended service intervals. This includes daily activities like cleaning the machine, removing debris from the engine screen, and checking the engine oil and hydraulic fluid levels. It also includes procedures to prepare your machine if it will be in storage for more than 30 days, as well as various checks and filter/fluid changes after a certain number of hours of operation.
Be sure to consult your operator’s manual for recommended maintenance schedules, as well as your engine owner’s manual for additional maintenance procedures.
Getting Back to Factory Settings
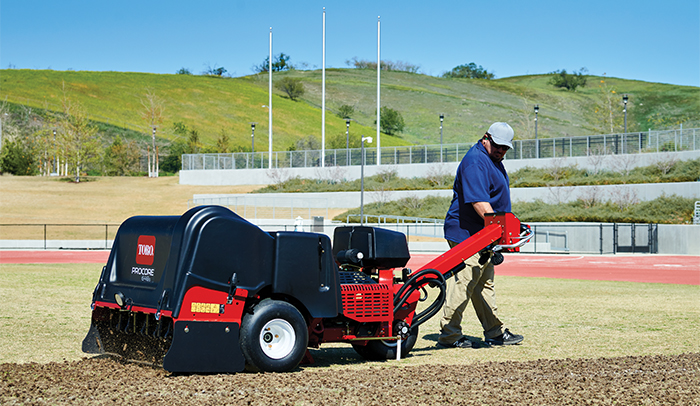
A wide selection of tine holders, turf guards and tines are available for the ProCore 648s and 648. Use the accessory chart in the Attachments and Accessories section of your operator’s manual to choose the required components for your application.
Start by using the tine chart to verify the correct tine (and correct tine length) is being used for the application. Only the approved TITAN® tines should be used. Once you’ve verified the correct tine, perform a speed test to determine if the speed is set appropriately. Then, use the information in your operator’s manual to verify that components are adjusted appropriately and within Toro’s recommended specifications. This includes depth control, hole spacing, tine diameter, head angle adjustment, tine head spacer placement and weight transfer.
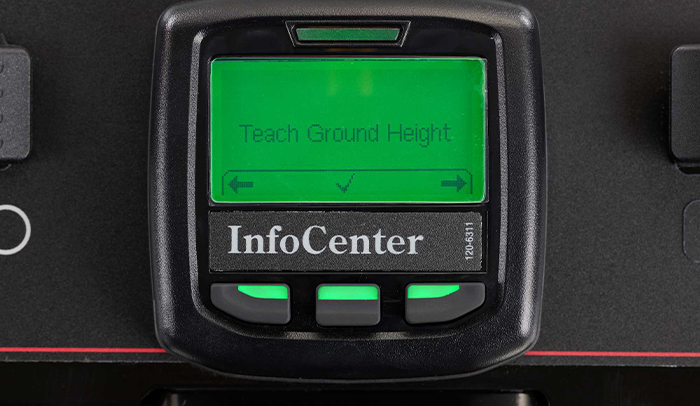
Other items to check and adjust include the coring head proximity switch bracket, down-pressure springs and coring head timing. For ProCore 648s, ensuring an accurate ground height calibration has been performed will also optimize the machine’s performance.
Troubleshooting
If you notice your aerator producing unexpected results, a component may not be set correctly for the application. Here are a few examples of issues and basic solutions.
- Problem: The front of the hole is dimpled or pushed along the run when using longer solid tines/needle-type tines or in softer soil conditions.
To improve hole quality with the ProCore 648, slow the engine high-idle speed to 2,800 – 2,900 rpm. The hole spacing will not be affected, as the traction and coring head speeds are both a function of engine speed. Please note: The ProCore 648s has been designed to operate at full rpm. Slowing engine speed more than 100 – 200 rpm may actually worsen hole quality. - Problem: Tufting, shingling or tearing during entry or exit (tine length of 5.5″ or less).
ProCore 648 – If the problem occurs on entry, check the air gap between the switch plate and target plate. It should be .03 –.09″. Then verify the switch positions. Switch No. 3 should be placed at the top of its slot. Switch No. 4 should be in the lowest position. If the problem occurs on exit, verify there are no orifices in the “CYL” port or adjustable orifices installed between the cylinder and the manifold. Orifices are not recommended because they will slow down the raise rate, leading to increased tufting on exit. If this is not the problem, the hydraulic relief may not be set properly or the tines may be too long.
ProCore 648s – Perform a ground height calibration and ensure the machine is operating in Delayed Mode to improve the machine performance at start of pass.
- Problem: Turf is lifted throughout the aeration pass.
This condition usually occurs due to turf health and agronomic practices and is directly related to how much disruption the turf can accept. Aeration settings may improve this condition, but are typically not the root cause of the issue. You can try changing the aeration depth, changing the tine density (increasing spacing, reducing tine quantity, decreasing tine size), adding down-pressure springs or adding spring backing plates to turf guards. - Problem: Failure to aerate at full depth or machine bounce during aeration.
Aerating in extremely hard and/or dry conditions may make the unit “walk” on the tine tips and not aerate to the full depth, resulting in poor hole quality. This may be improved by watering the area or waiting to aerate until after a rain event. You could also add downward force by changing the coring head weight transfer spring position, or add up to two optional weights to the underside of the unit. - Problem: Slight tufting anywhere in the aeration path.
This can be a normal variation of after-aeration appearance, and no setting adjustment is usually needed. A roller can be helpful to smooth out the turf before completing aeration. - Problem: Scraping or lines in the turf.
This is an indication that turf bar bolts may be dragging in the turf. Adjust the depth rod to correct the problem or reduce the desired aeration depth. - Problem: Forward or rearward push of holes.
Check damper spacing adjustment on the machine. Depending on how much holes are pushed, spacer change could improve after aeration hole quality. Refer to the operator’s manual for instructions on performing these adjustments.
For parts and manuals with more recommendations, visit the ProCore 648s page on Toro.com and select your serial number range from the options at the bottom.